 |
 |
 |
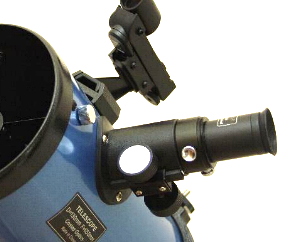
Although it is not required to remove the focuser to
carry out tis step by step guide I would recommend removal to avoid any risk to
the secondary mirror.
Be careful when
working near the secondary and make sure you remove any watches or rings to
prevent scratches and damage to the secondary mirror as well as the internal
finish of the tube. |
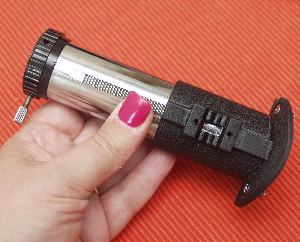
Here is the focuser removed from the optical tube. This
particular focuser has a small cut out on its mount ring which was applied for
fitting to a TAL telescope. |
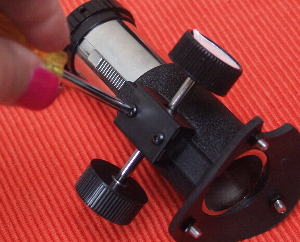
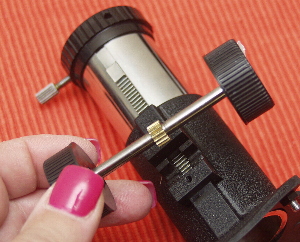
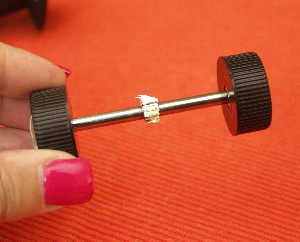
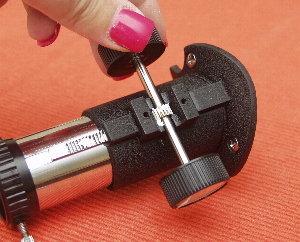
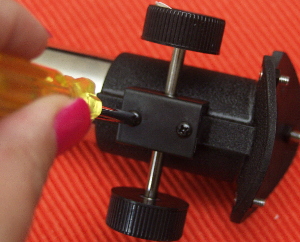
Remove the two small Phillips screws underneath the
focus wheels. When these are removed the internal mechanism will drop out so
carry out this work on a flat clean surface. |
 |
 |
 |
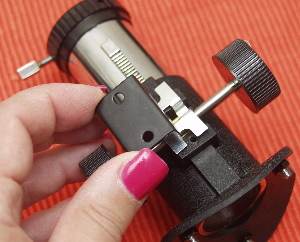
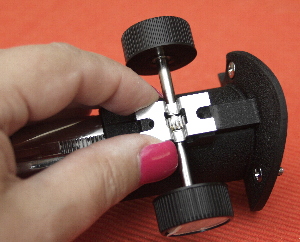
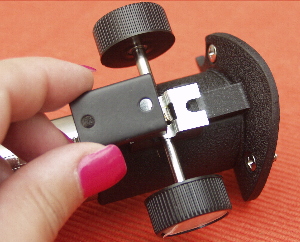
| Remove the small metal plate. This is the plate which
holds the focuser mechanism in tension. |
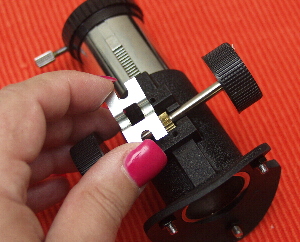
Remove the small silver colored spring
plate. |
The focuser spindle will now fall free. This focuser
showed no grease in any of its components but they are normally greased with
something that looks like tar. |
| |
|
|
 |
 |
 |
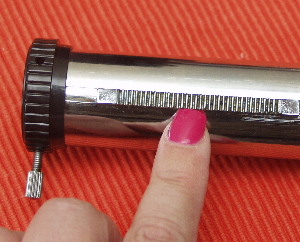
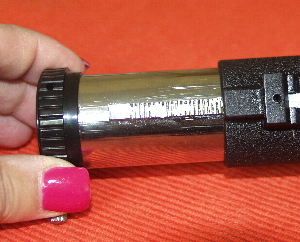
| The focus drawtube (the silver tube)
will now pull free from the focuser body. |
The drawtube has a moulded set of teeth on it. This
example showed no grease but normally it has a thick grease like tar. Remove
the grease using hot water and washing up liquid. Avoid degreasing agents as
they will mar the finish of the chrome paint. |
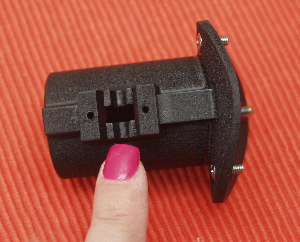
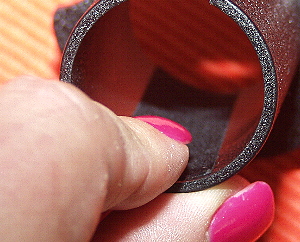
The focuser body. This example showed no grease but normally it has a
thick grease like tar where the focuser spindle is seated. Remove the grease
using hot water and washing up liquid. Avoid degreasing agents as they may
affect the plastic. |
| |
|
|
 |
 |
 |
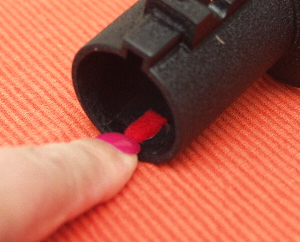
| Inside the focuser body you will see a small pad of
felt. This acts as a tensioner for the focuser drawtube and some examples of
this focuser will show that the pad is either missing or it has slipped and
allowed the glued back of the pad to jam the focuser up or make the focus
drawtube very stiff. A worn pad will also mean the drawtube is 'sloppy' in the
focuser body. |
On this focuser the felt pad had curled over causing the
focuser to jam. The original pad was removed and replaced with a wide strip of
felt on the top of the focuser body so that it would be opposite the rack of
the focuser drawtube.
The felt was run
over with sticky tape to remove any loose particles before being glued into
place. |
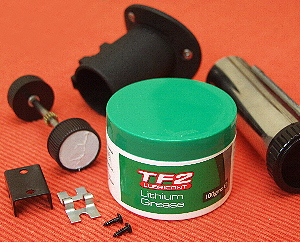
Lithium grease is ever your friend for these tasks. This
tub was acquired from a local mountain bike shop for the princely sum of
£3.00 and is sufficient for a lifetime of dabbling with astronomy
equipment. |
 |
 |
 |
| The rack part of the focuser drawtube is lightly smeared with lithium
grease and reinserted into the focuser body. |
Similarly the cog on the focuser spindle is also smeared
with lithium grease. |
Replace the focuser spindle...... |
 |
 |
 |
| ....and replace the small sliver colored spring
plate... |
....and replace the small metal plate. |
Replace the two small screws. DO NOT OVERTIGHTEN. By
careful adjustment of these screws applying equal pressure you can adjust the
tension of the focuser to provide a relatively smooth and secure focusing
action. |
| |
 |
|
| |
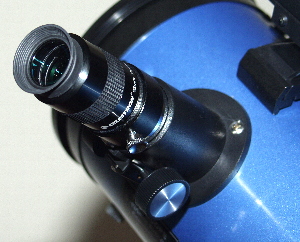
The focuser can now be reinstalled onto the optical
tube. The two small screws may need a slight tweak once you have an eyepiece in
place to fine tune the action of the focuser. |
|
